Deploying Blueprints
Launching from a Blueprint
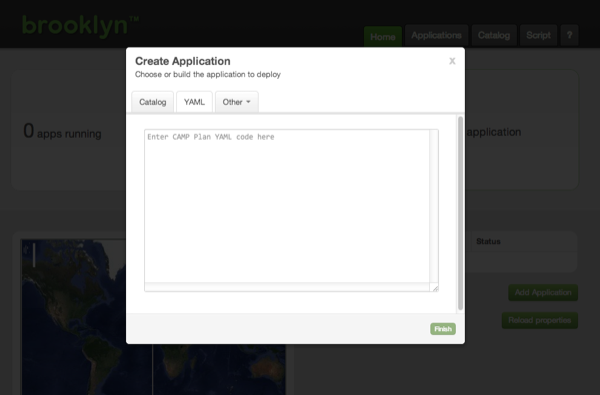
We’ll start by deploying an application from a YAML blueprint.

Copy the blueprint below into the large text box on the YAML tab. But before you submit it, we need to make a modification.
name: My Web Cluster

location: localhost

services:

- type: brooklyn.entity.webapp.ControlledDynamicWebAppCluster
  name: My Web
  brooklyn.config:
    wars.root: http://search.maven.org/remotecontent?filepath=io/brooklyn/example/brooklyn-example-hello-world-sql-webapp/0.6.0/brooklyn-example-hello-world-sql-webapp-0.6.0.war
    java.sysprops:
      brooklyn.example.db.url: >
        $brooklyn:formatString("jdbc:%s%s?user=%s&password=%s",
        component("db").attributeWhenReady("datastore.url"),
        "visitors", "brooklyn", "br00k11n")

- type: brooklyn.entity.database.mysql.MySqlNode
  id: db
  name: My DB
  brooklyn.config:
    creationScriptUrl: https://bit.ly/brooklyn-visitors-creation-script
Find the line near the top of the blueprint that starts location:.
Change this to have the right values for your preferred target; for example:
location:
  jclouds:aws-ec2:
    identity: ABCDEFGHIJKLMNOPQRST
    credential: s3cr3tsq1rr3ls3cr3tsq1rr3ls3cr3tsq1rr3l
Alternatively, if you have ssh localhost configured you can leave it as is.
See Locations in the Operations section of the User Guide for detail on setting up
cloud providers, including putting credentials in a file on disk rather than in the blueprint.
With the modified YAML in the dialog, click “Finish”. The dialog will close and Brooklyn will begin deploying your application. Your application will be shown as “Starting” on the web console’s front page.
Launching from the Catalog
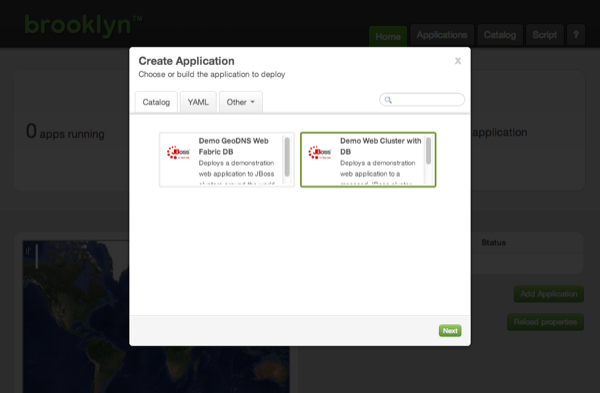
Instead of pasting the YAML blueprint each time, this blueprint can be added to the catalog. With this YAML blueprint added, including the location, the Add Application dialog will offer the “Demo Web Cluster with DB” as a template.
Next
So far we have touched on Brooklyn’s ability to deploy an application blueprint to a cloud provider, but this just the beginning. Start managing this application.
